When you spend a lot of time and money on the production value of your content, you want your attendees to be wowed by it.
So how can you make sure your audience finds, engages and interacts with your content as they navigate your virtual event platform?
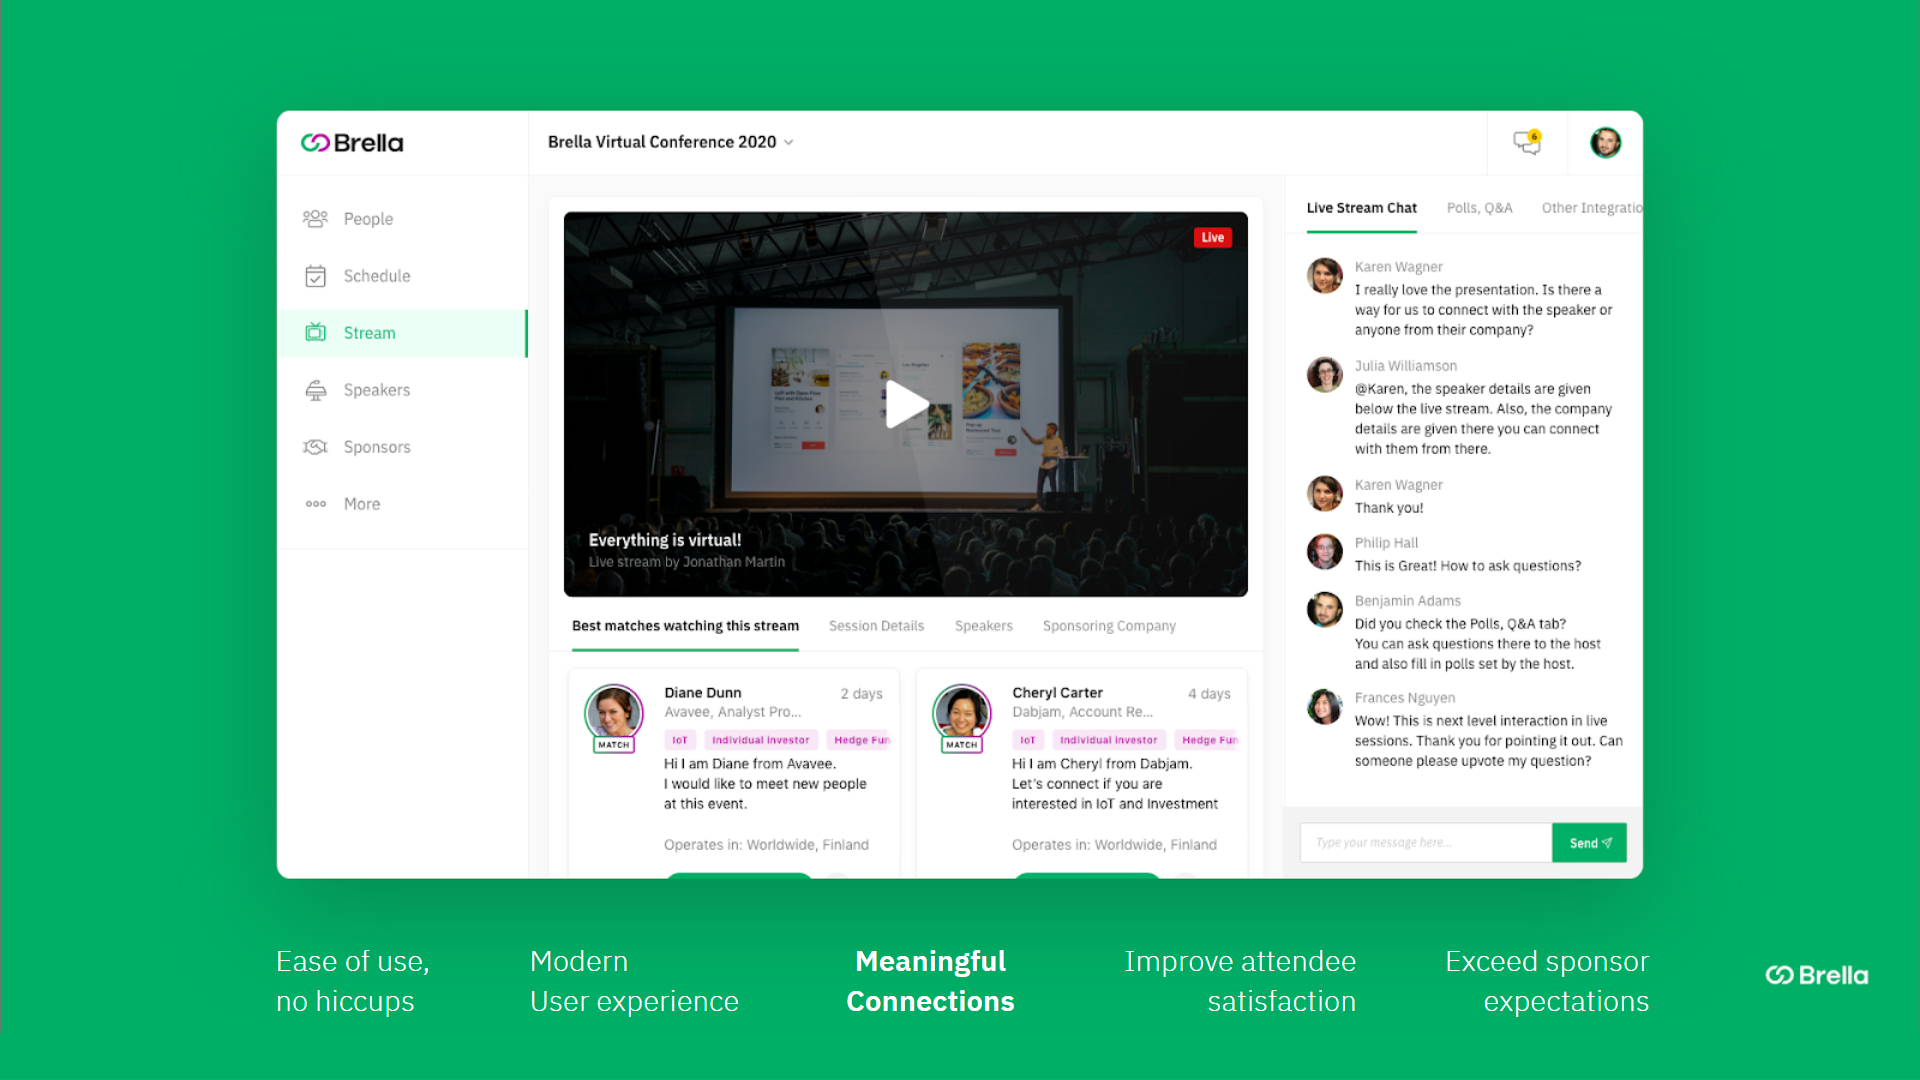
Well, it’s incredibly easy to present your content in great ways in Brella. Livestream hosting is as simple as adding a link, and they follow your attendees wherever they go in the platform with picture-in-picture functionality.
In this article, we’ll cover how to host your livestreams and some useful tips to promote your content in effective ways, so your audience is engaged and inspired from start to finish!
Pre-event
Your event schedule is where it all starts. After all, how will your attendees what’s happening and when without it?
Luckily, you have flexible options for creating a schedule in Brella. While agenda input is one of the… less fun aspects of planning, you can import a pre-existing schedule so you don't need to make it twice. However, making it in Brella is simple too.
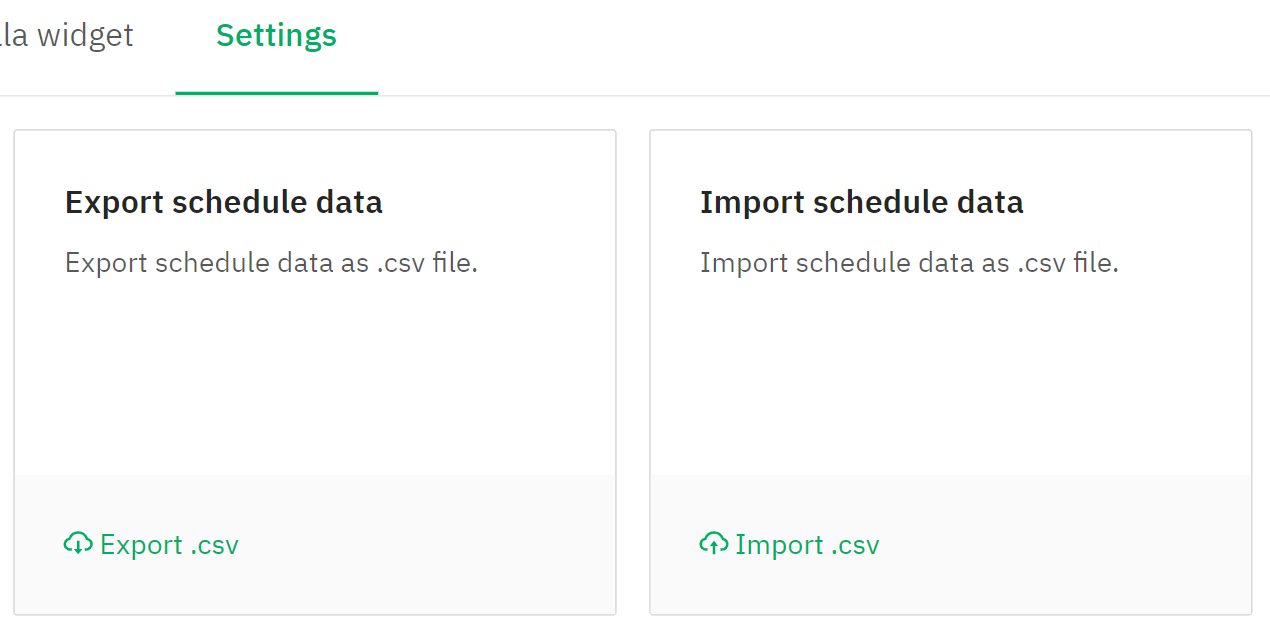
It’s super easy to add your schedule here with our schedule import - can’t miss it!
Now, for each session in your schedule, you can add a stream link. However, we recommend directing all your attendees to the stream tab for each tab!
Why? Well, think of Streams as your main stage where your attendees gather. You can have all your sessions in one location, so you remove the confusion of where to go.
And if you have multitrack sessions, don’t worry. You can tag each session, both in the schedule and in the stream tab itself! There will be a small dropdown where we recommend adding the stream track and some emojis to differentiate it.
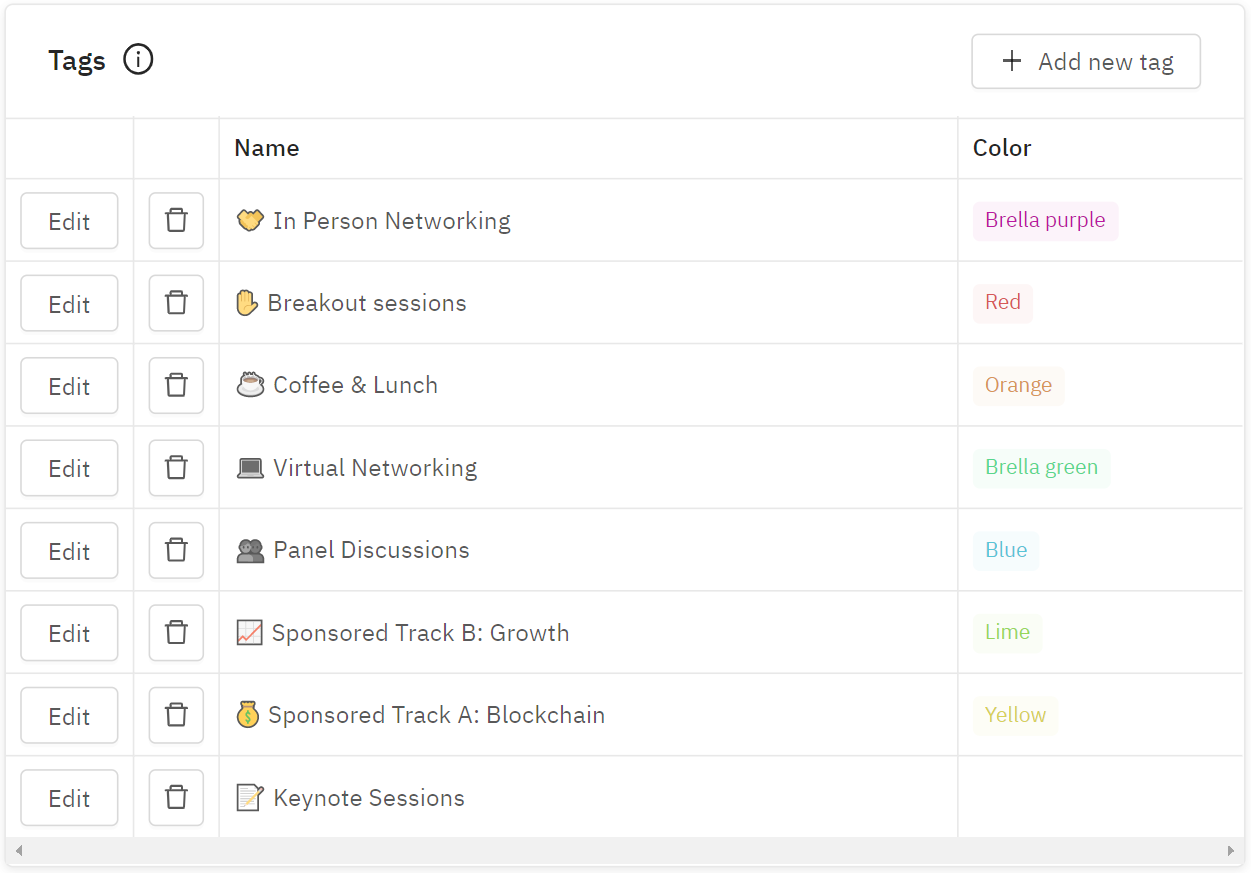
Add emojis and different colors to help attendees navigate your schedule.
And did you know that your attendees can create their own personal agenda in Brella? By saving the content they want to see, they’ll get reminders before it begins so they won’t miss a thing.
Send your attendees an announcement and remind them to spend some time selecting the content they want to see.
Your attendees can easily save and filter their agenda to make a schedule that suits them.
And most importantly, remind your attendees to select their local time zone! This way they won't accidentally miss a session. Their local time will also show to anyone who wants to meet them, meaning they won’t get meeting requests for midnight (hopefully, anyway).
So once you’re finished with your schedule, did you know you can take that schedule in Brella… and display it on your website? 🤯
It’s true! We call it the schedule widget, and it’s simple to embed into your event website. So, really, you don't need to create your schedule twice.
Just create your schedule in Brella, embed it in your website, and you're done! A simple and clean schedule, no development skills or spreadsheets needed. Read our help article to learn more.
So let's sum up what to do before your event:
- Add your schedule to Brella
- Tag your livestreams so attendees know where to go
- Remind participants to choose their preferred content and select their time zone
- Embed your schedule to your event website
During event
During the event it’s important to direct your attendees to the right place - your main stage. As mentioned, make sure all schedule sessions include a message to watch the stream from the main stream tab.
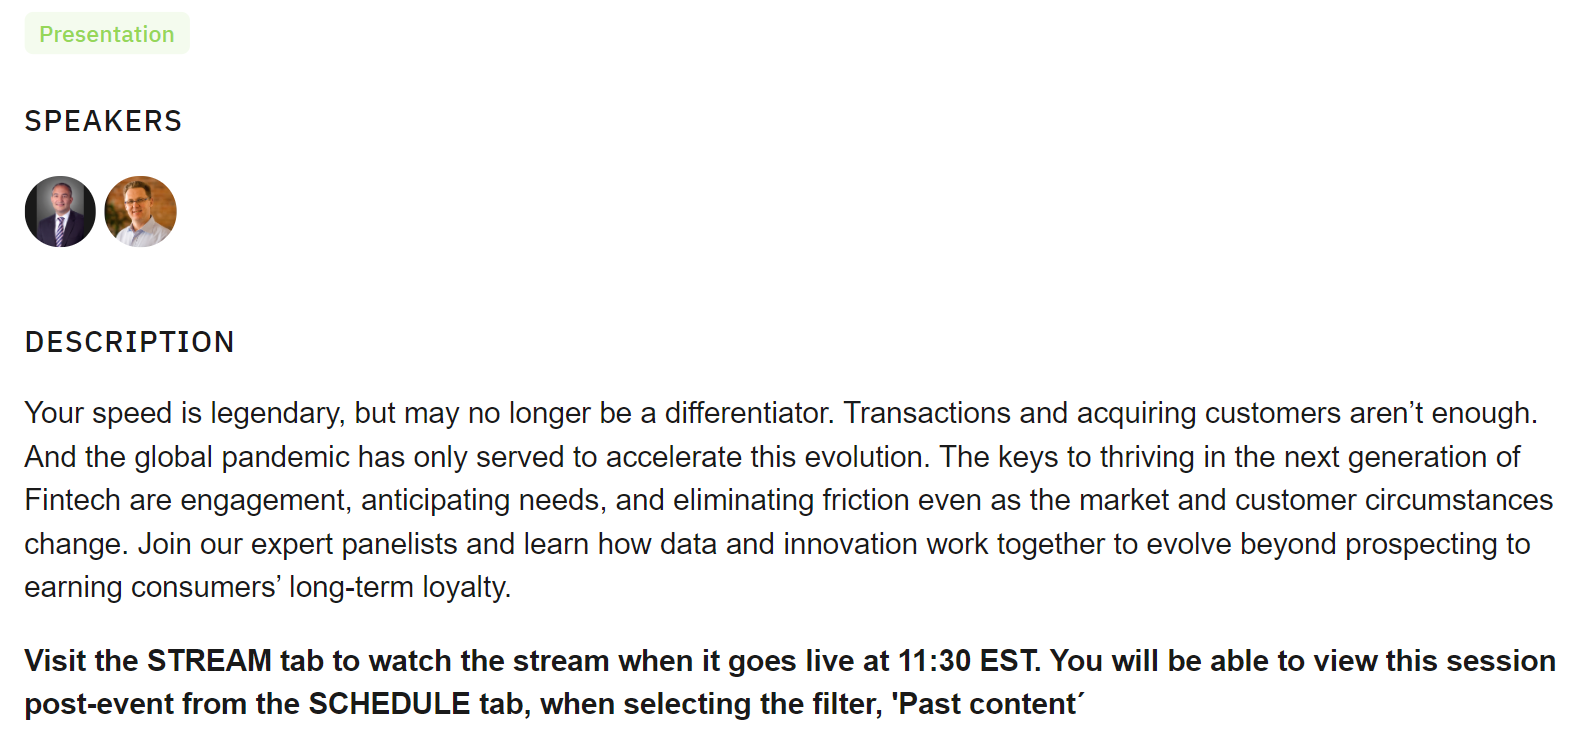
LendIt gives a great example of how to direct attendees to the stream, and also informing them where to find the content after the event.
As well, here are some excellent tips for a quality livestream experience.
First of all, if possible, we strongly recommend working with AV professionals to manage and set up your livestream. You'll save a ton of stress and work by letting trained pros do what they do best!
Before your stream starts, add a countdown timer at least 5 minutes before the start of the stream. This lets your attendees know they’re in the right place and that they should sit tight, the stream will start soon.
We recommend adding a timer whenever there is a break or pause, so your attendees know how much time they have to grab more coffee or stretch their limbs.
You can also comment in the live chat beside the stream that your stream will start soon. Why not use this time to ask where your attendees are tuning in from too?
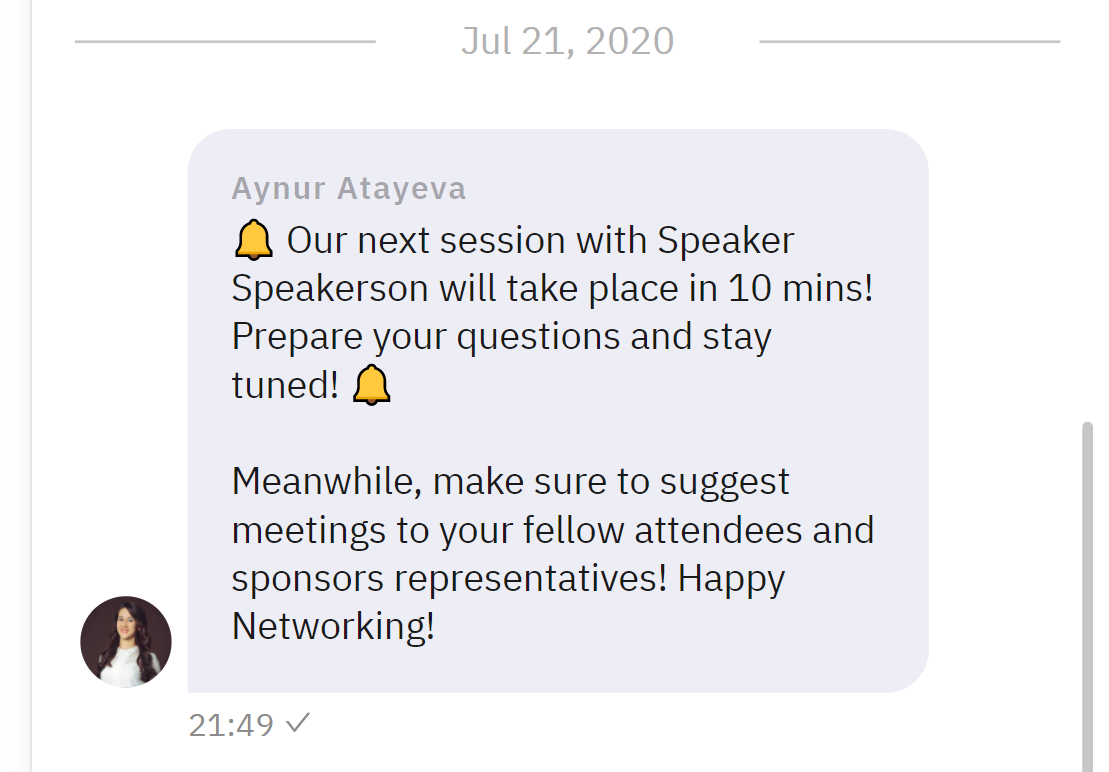
A clear message in the live chat lets your attendees prepare for the session.
And whenever possible, use a branded background for every single session. As well as adding your own logo and colors, you can also add your sponsor logos too for more exposure opportunities.
Speaking of exposure opportunities, if you feel particularly adventurous, you can add promo videos of your sponsors during breaks too.
During the stream, feel free to ask your audience questions about what they’re watching, and also answer questions too! It can help immensely to assign 'stage managers' to each stream to moderate the live chat and answer questions during the stream. Your audience wants to be heard, so make sure you interact with them.
So to sum up:
- Direct attendees to your main stream location from the schedule
- Add countdown timers at the start of your livestream and during breaks
- Add your brand logos + sponsor logos to your background throughout the livestream for more exposure
- Use short promo videos from sponsors during breaks in the stream
- Have a dedicated stage manager for each stream to ask and answer questions from your audience
- Use an AV production crew if possible to save a ton of stress and time
Post-event
Just because your event is over doesn’t mean your content becomes irrelevant! You can continue hosting your content in Brella and generate perpetual returns.
Take your recorded sessions and add those links to your schedule. Now, when your attendees come back to see their schedule, or if they missed a session, they can watch it in Brella.
You can also send a notification to your attendees after the event letting them know that they can rewatch the content!
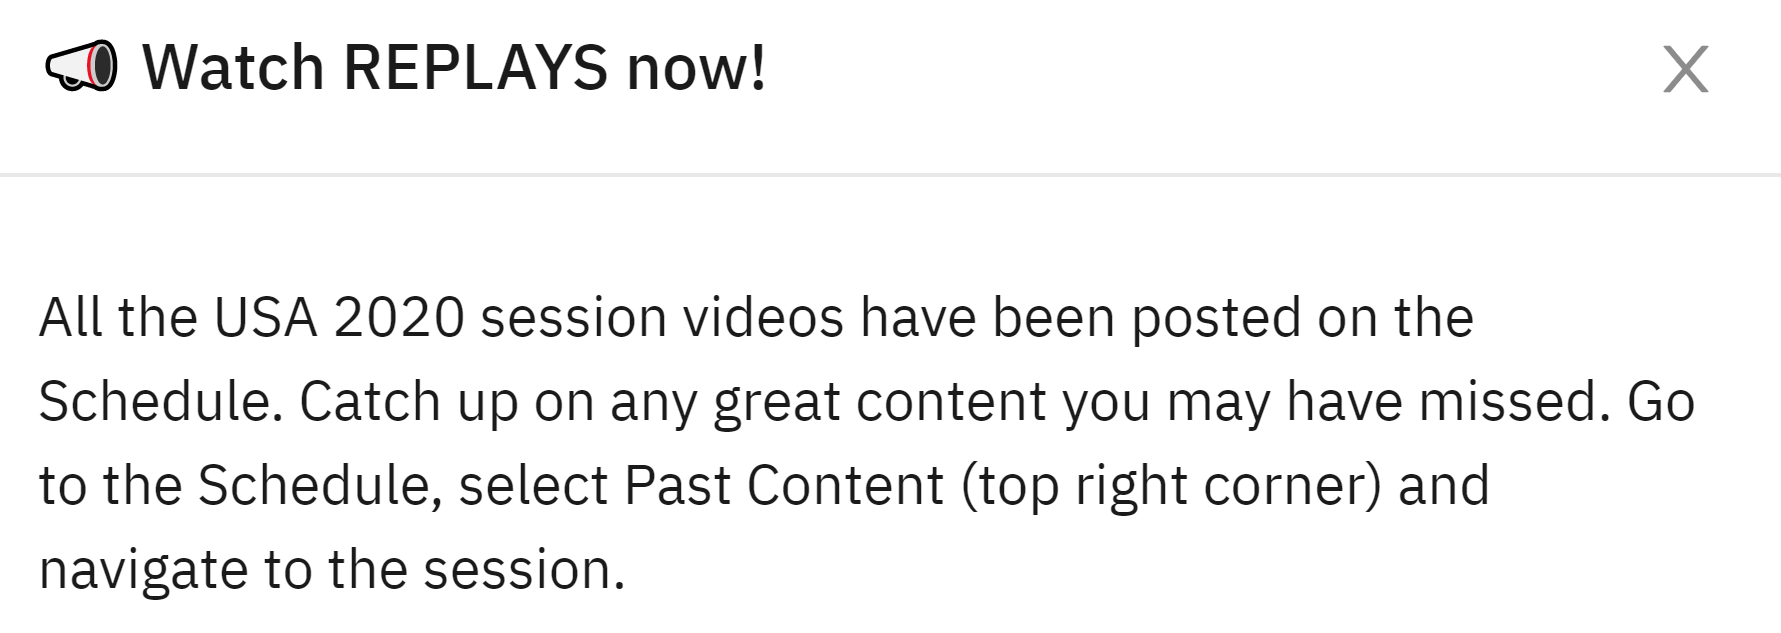
Here’s a great example from LendIt’s recent virtual event that informs all attendees to check out their schedule and catch up on any sessions they missed (or simply rewatch the best parts).
Outro
Virtual events can be as beautiful, elegant and engaging as live, in-person events.
And with Brella, your attendees can access the incredible content you provide while also interacting with each other in a smart, effective way.
I hope these simple tips help you understand our platform better and provide a higher quality experience at your event.
If you’re interested in more, we have a detailed help center that is full of useful articles about all our features.
And if you would like to learn more about hosting your next virtual event in Brella,  and our team will be more than happy to arrange a demo call with you.